Partner with Shuangrui to reduce manufacturing costs by 30% and boost efficiency.

Guangzhou Shuangrui Precision Manufacturing Co., Ltd.

Get An Instant Quote

Metal Assembly Services2026-01-22T05:44:03+00:00

Home -> Service -> Sheet Metal Finishing -> Assembly

Metal Assembly Services

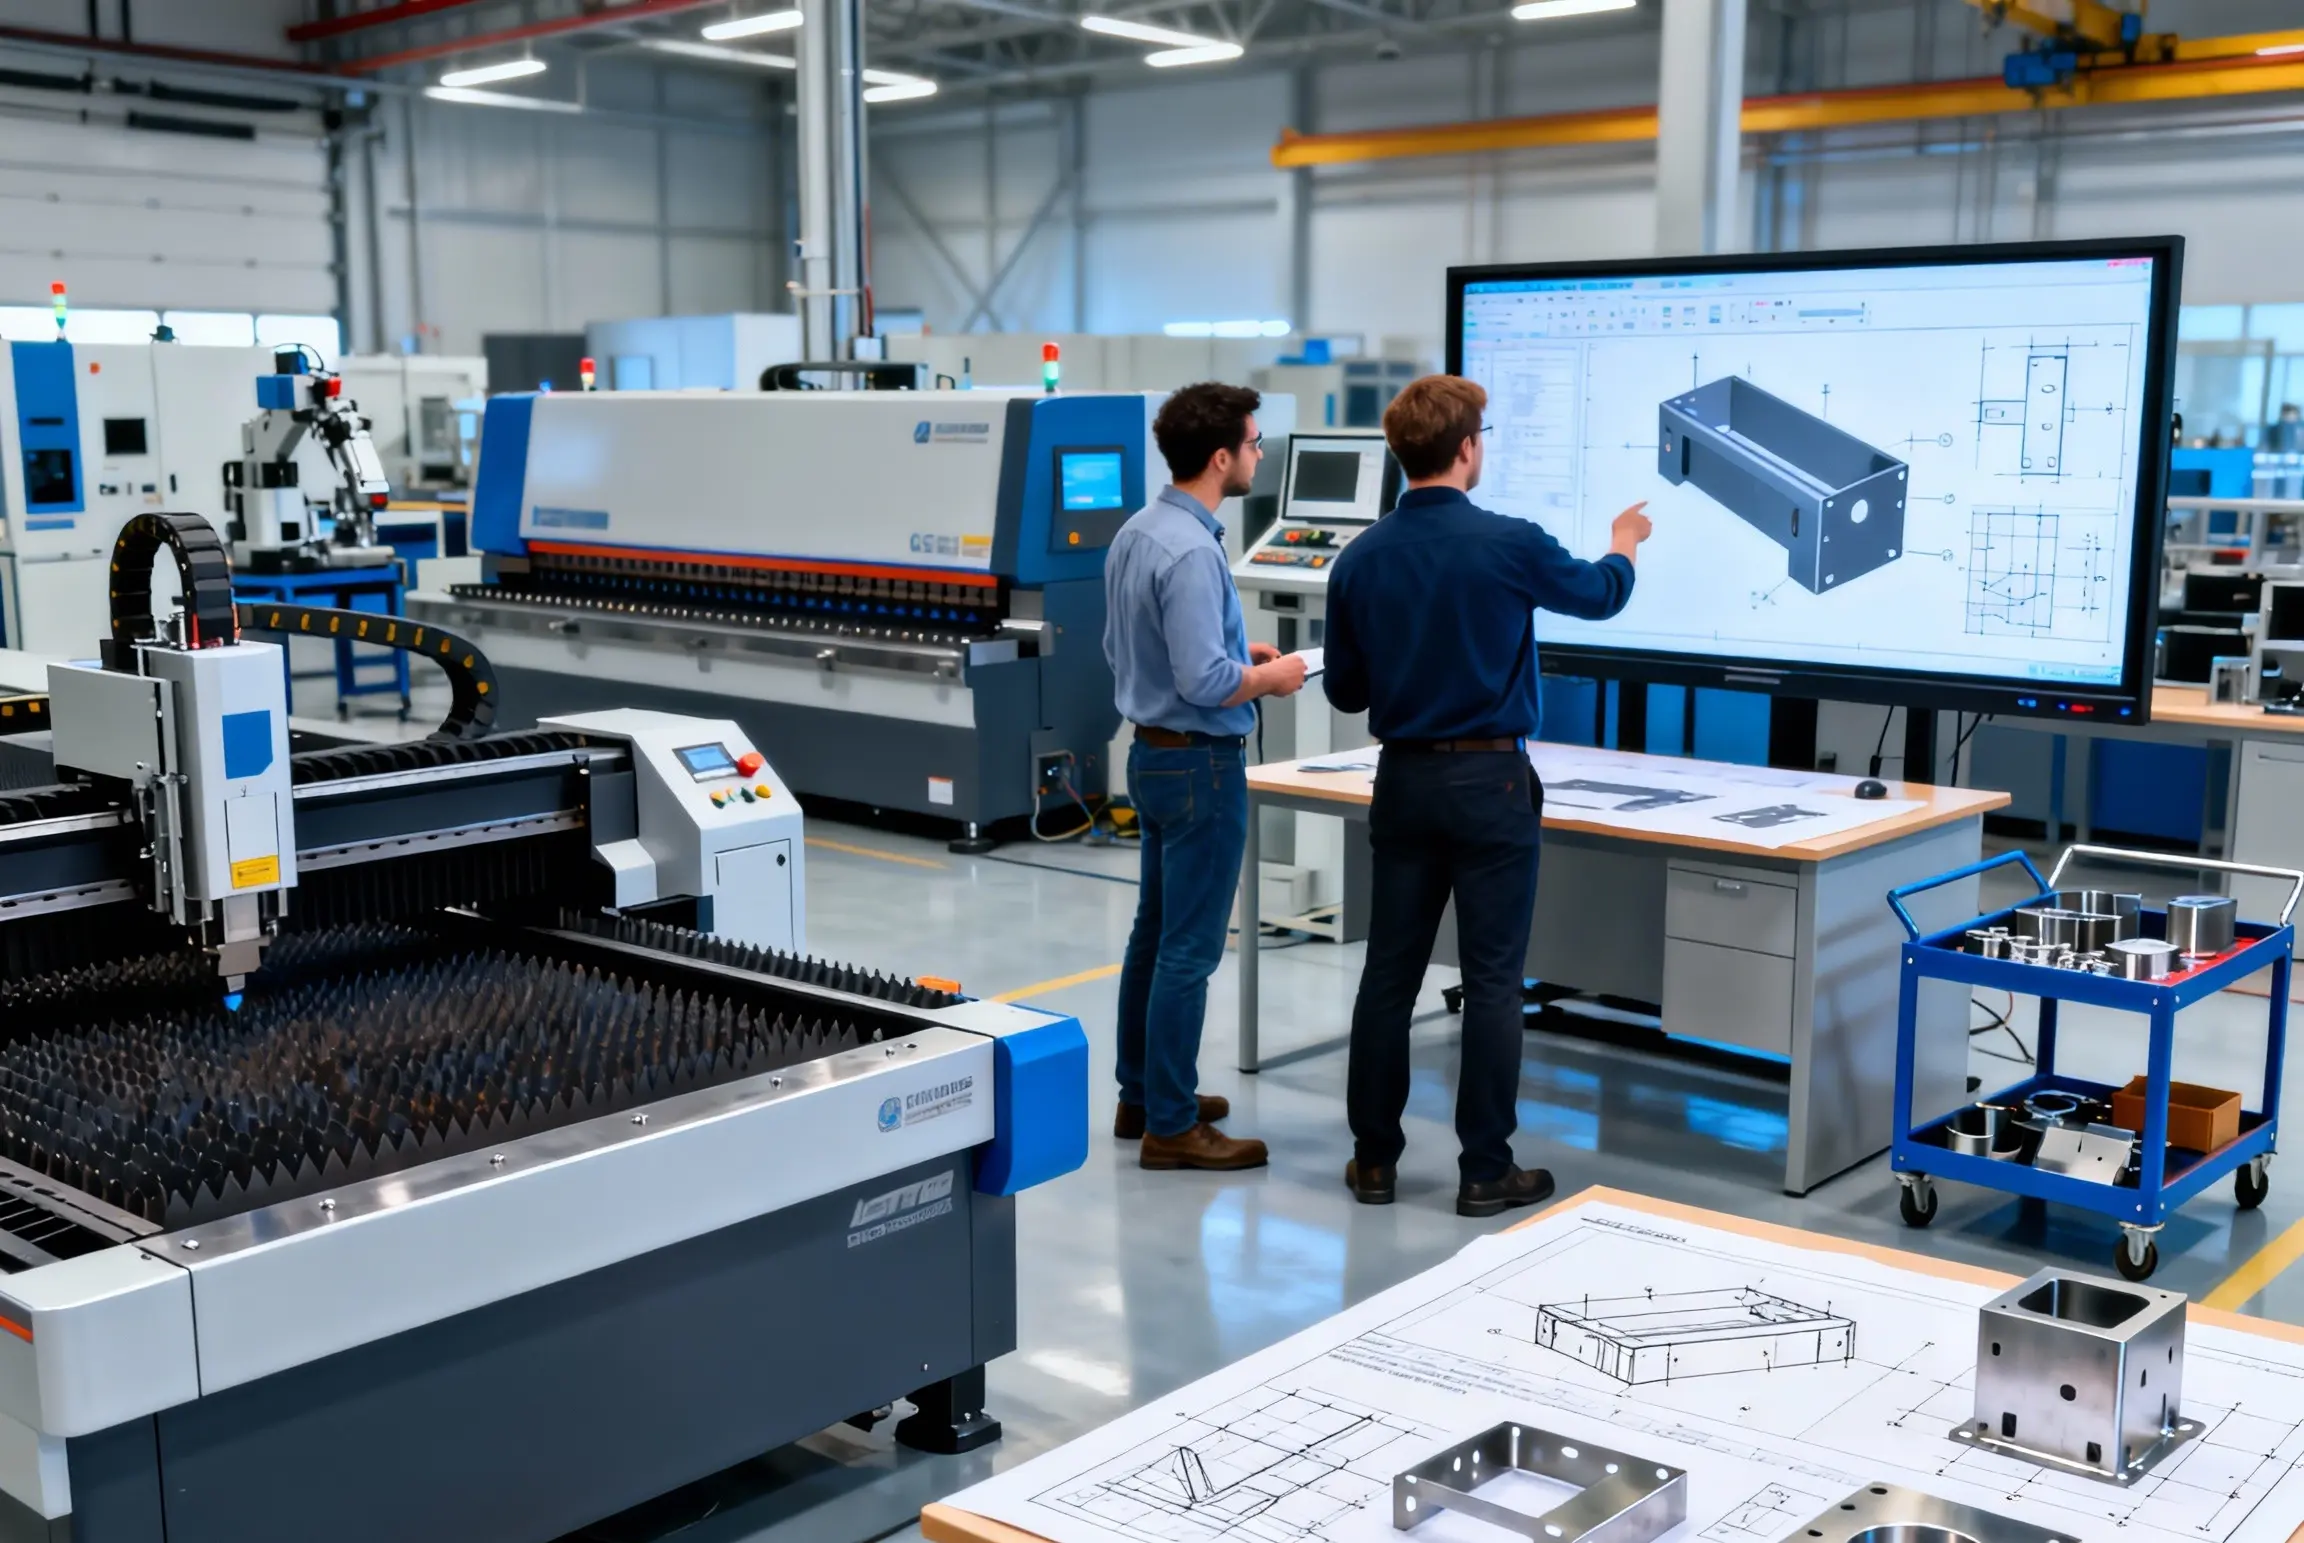
SR MFG provides end-to-end metal assembly services, covering purchased-part sourcing, inbound material handling, assembly, inspection and testing, and final packaging and shipment—all within a single, integrated workflow. By combining machining and assembly under one roof, we support everything from single-unit builds to full system assemblies, ensuring consistent assembly quality and controlled, reliable documentation. This approach reduces supply-chain coordination costs and minimizes quality risk.

Our capabilities include a range of joining and fastening methods such as welding, riveting, and bolted connections, serving applications across industrial enclosures and equipment, medical devices, outdoor products, and new energy components. With rigorous in-process inspections and final quality checks, SR MFG is committed to delivering assemblies that meet design specifications and functional requirements—helping customers shorten lead times, reduce labor costs, and strengthen their competitiveness in the market.

Blank Form (#4)

What Is Metal Assembly?

Metal assembly is the process of putting multiple finished metal parts together according to engineering drawings and technical requirements to create a functional structure or product. In manufacturing, it typically falls into two categories:

Sub-assembly
Multiple parts are assembled into an intermediate component or module that will become part of a larger product.

Final assembly
All sub-assemblies and remaining parts are brought together to form the finished product and achieve full functionality.

A variety of joining methods may be used during assembly—such as mechanical fasteners (bolts, nuts, clips), welding, riveting, and press-fitting—to ensure structural integrity, reliable performance, and compliance with design specifications.

How Far Can SR MFG Take Your Assembly?

SR MFG defines metal-assembly “delivery depth” based on the condition you want to receive the product in—from a single assembled part to a complete, ready-to-ship build. The core value of our one-stop delivery model is simple: one partner manages sourcing, assembly, testing, packaging, and delivery, reducing the cost and risk of coordinating multiple suppliers.

  • 1

    Delivery Level 1 — Parts + Basic Assembly

    You receive: Individual parts with required assembly steps completed (fastening, press-fitting, riveting, installation of clinch nuts/studs, etc.), with proper surface protection and packaging.
    Best for: When you need a fully prepared “single part” that’s ready for your own final build.

  • 2

    Delivery Level 2 — Sub-Assembly

    You receive: A sub-assembly made from multiple sheet-metal and machined parts, ready to move directly into your next final-assembly step. Critical interfaces and cosmetic surfaces are controlled to your requirements.
    Best for: Reducing the number of stations on your line and shifting assembly risk upstream to the supplier.

  • 3

    Delivery Level 3 — Enclosure / Cabinet / Frame Assembly

    You receive: Sub-assemblies and standard hardware integrated into an enclosure, box, cabinet, or frame—delivered as an “out-of-the-box, ready for installation or integration” assembly.
    Best for: When you want install-ready assemblies instead of loose parts and kits.

  • 4

    Delivery Level 4 — Full Turnkey Assembly Delivery

    (Procurement + Fabrication + Assembly + Testing + Packaging & Shipping)
    You receive: A fully integrated delivery covering outsourced procurement, inbound material management, sheet-metal fabrication, assembly, functional checks, packaging, and complete shipping documentation.
    Best for: When you want to provide drawings/BOMs and key requirements—without managing multiple vendors or handoffs.

SR MFG's production volume range for laser-cut parts 1 piece →100,000+ pieces

SR MFG Sheet-Metal Assembly Methods

Sheet-metal assembly is essentially taking parts made from thin metal sheets and building them into a complete product. The joining method you choose affects strength, assembly speed, cost, appearance, and how easy the product is to service later.

Mechanical Joining

How it works: A small formed flange is created, then folded and pressed flat to clamp two sheets together. It’s permanent and not meant to be taken apart.
Best for: Tight spaces and joints that need good strength.
Advantages: No screws or rivets required; compact structure.
Watch-outs: If the hem isn’t fully formed—or cracks during forming—the joint can loosen.

How it works: A punch and die press two layers of sheet metal so they plastically deform and “lock” at a round clinch point.
Why it’s popular: It’s a cold process—no heat—so parts are less likely to warp and coatings (plating/paint) are easier to protect.
Best for: Areas where appearance, coating protection, and cycle time matter, but the joint isn’t the primary load-bearing structure.
Limitations: Clinch points typically don’t create the same “one-piece” strength as welding, so use caution for main structural load paths.

How it works: Insert the rivet from one side and pull it with a tool; the tail expands to clamp the sheets together.
Best for: Enclosures or double-wall structures where you can’t access the back side.
Advantages: Fast, convenient, and field-installation friendly.
Watch-outs: The rivet tail protrudes and may cause interference; the tool also needs clearance to operate.

How it works: A semi-tubular rivet is pressed into the top sheet and flares into the bottom sheet to form a mechanical interlock—typically without pre-drilling.
Best for: Stronger joints than simple clinching, while avoiding heat distortion from welding.
Limitations: Higher equipment and rivet cost; more sensitive to sheet thickness combinations.

How it works: Screws clamp two sheets together.
Best for: Parts that need frequent removal, adjustment, or service (cabinet panels, equipment covers, etc.).
Watch-outs: Thin sheet can strip easily with self-tapping screws; clinch nuts/studs are often recommended for reliability.

Pins: Used for accurate positioning and repeatable alignment.
Hinges: Allow doors and covers to pivot (enclosure doors, equipment lids).

Adhesive Bonding and Brazing

How it works: Structural adhesive bonds two metal surfaces, spreading loads over a large area.
Advantages: Can join dissimilar materials and also provides sealing.
Watch-outs: Surface prep is critical; design joints so the adhesive sees shear/compression rather than peel forces.

In plain terms: The base metal doesn’t fully melt; a lower-melting filler flows into the joint and solidifies, typically with less distortion than welding.

Welding

How it works: Electrodes clamp two sheets and pass current through the contact area; resistance heating creates a localized weld nugget.
Best for: High-volume production and structures needing overall rigidity.
Limitations: Heat can distort thin sheet; cosmetic surfaces require extra care.

In plain terms: A precise arc weld process that produces clean, refined weld beads—great when appearance matters.
Best for: Stainless steel, aluminum, thin sheet, and visible welds.

MIG (GMAW): Uses inert gas (commonly argon/helium), often for aluminum and some stainless applications.
MAG / CO₂ Welding: Uses CO₂ or CO₂-mix shielding gas, commonly for carbon steel.
In plain terms: Faster than TIG, but the weld usually needs more grinding and finishing for appearance.

How it works: A focused laser rapidly fuses material with a narrow weld seam and minimal distortion.
Best for: Automation, precision assemblies, and applications where low heat input is critical.

Specialty Joining Features

How it works: Threaded fasteners are pressed into sheet-metal holes so thin sheet can have durable threads.
Best for: Thin sheet, serviceable assemblies, and one-side access applications.

How it works: One part has a tab and the other a slot; parts fit together for quick alignment, then are secured by bending, screws, spot welds, etc.

In plain terms: The edge is folded close to 180° over another edge, removing sharp edges, increasing stiffness, and improving safety.

How to Choose the Right Sheet-Metal Joining Method

Evaluation focus Recommended method(s) Plain-English rationale
High strength / primary load-bearing Resistance spot welding, structural blind rivets (structural pop rivets), hemming/flanged seams Stronger joints that can handle higher loads
Protecting finishes (avoid damaging paint/plating) TOX®/clinching (cold-formed joints), adhesive bonding Little to no heat input, so coatings stay intact
One-side access only (blind assembly) Blind rivets (pop rivets), rivet nuts (adds internal threads) You can assemble even when you can’t reach the backside
Needs to be removable for service Screw fastening, snap-fits/clips (often for quick locating) Easy to take apart for repairs, replacements, or module swaps
Tight space / low profile (minimal protrusion) Hemming, clinching, (or SPR self-piercing riveting) Often avoids bulky fasteners, keeping the joint compact
Thin sheet (< 1 mm) needs threads Self-clinching nuts/studs, adhesive bonding (depending on design) Thin sheet strips easily if tapped or self-tapped; clinch fasteners provide reliable threads
High-volume efficiency Resistance spot welding, clinching, snap-fits/clips Fast cycle times and easy to automate
Mixed materials / dissimilar materials Adhesive bonding, blind rivets or screws (with isolation washers/spacers) Better for metal-to-nonmetal or dissimilar metals—just manage corrosion and sealing properly

How Does SR MFG Control Sheet-Metal Assembly Quality?

At SR MFG, quality control for sheet-metal assembly is built on standardized processes, proven process capability, and inspection/verification. The goal is to ensure every build meets design and customer requirements for dimensional accuracy, structural strength, cosmetic integrity, and functional reliability.

Quality depends on both technical know-how and a robust management system. Our guiding principle is straightforward: control issues in the process—rather than relying on final inspection or rework to fix problems after the fact.

Inspection Standards and Tolerance Ranges

Tolerance rule: We follow the drawing and customer specifications first. If tolerances are not specified, we apply ISO 2768 (e.g., ISO 2768-m / ISO 2768-mK) or the customer’s designated general tolerance class.

The values below are common industry reference ranges; final limits are confirmed by project requirements and demonstrated process capability.

Dimensional Inspection

Inspection item Typical tolerance requirement Measurement tools
Linear dimensions (L/W/H) ±0.1 to ±0.3 mm (laser-cut blanks) | ±0.2 to ±0.5 mm (after bending) Calipers, micrometers, CMM
Hole location accuracy (pitch, edge distance) High precision: ±0.05 to ±0.1 mm | Standard: ±0.1 to ±0.2 mm Calipers, CMM
Bend angle ±0.5° to ±1.5° (CNC press brakes can typically hold within ±1°) Angle gauges, bend-angle measuring tools
Flatness ≤0.1 mm (general requirement) | ≤0.3 mm/m (enclosures and housings) Surface plate, dial indicator, CMM
Parallelism / perpendicularity ≤0.2 mm/m (U-shaped parts formed by multiple bends) Squares, dial indicator

Surface Quality Standards

Inspection item Acceptance criteria Method / tools
Surface roughness General parts: Ra ≤ 3.2 μm | Precision parts: Ra ≤ 1.6 μm Surface roughness tester
Burr height Blanking/punching: ≤ 5% of thickness | After bending: ≤ 10% of thickness Visual + tactile check
Scratches No obvious scratches on exposed cosmetic surfaces; must not feel sharp to the touch Visual + tactile check
Weld appearance Uniform “stacked-dime” appearance; no porosity, slag inclusion, cracks, or undercut; reinforcement 0–3 mm (stainless steel) Visual inspection, weld gauge
Coating quality Even color, no bubbles, contamination, or peeling; adhesion by cross-hatch/tape per ASTM D3359 Method B—4B typically means minor flaking at intersections with <5% affected area Color meter, cross-hatch test

Welding Defects and Preventive Controls

Key welding parameters (current, voltage, travel speed, shielding gas flow, heat input, preheat/post-heat, etc.) are set and controlled per WPS / process sheets. Any numeric values below should be treated as typical reference ranges; final settings depend on material, thickness, joint design, and validation results.

Defect Common causes Preventive actions
Porosity Impure shielding gas or unstable flow; oil/rust/moisture on surface; travel speed too fast Use high-purity shielding gas (argon ≥ 99.99%); thorough pre-weld cleaning (e.g., stainless wire brush to remove oxide); control gas flow to 18–25 L/min; use pre-flow and post-flow shielding
Cracking Excess hydrogen in weld; high restraint stress; excessive heat input Use low-hydrogen consumables (bake at 350°C × 1 hour); preheat 150–250°C and apply post-heat treatment as needed; tightly control heat input (e.g., austenitic stainless ≤ 20 kJ/cm)
Lack of fusion / lack of penetration Current too low or speed too high; groove angle too small (<60°); laser focus offset Adjust current by thickness (typically +15–20 A per additional 1 mm); maintain groove angle at 60°–70°; calibrate laser focus weekly (deviation ≤ 0.1 mm)
Undercut Current too high; speed too fast; arc voltage too high Reduce travel speed to ~300–400 mm/min; lower arc voltage by 1–2 V
Distortion Uneven heat input; long continuous welds Use stitch/skip welding (each segment ≤ 100 mm with ~50 mm spacing); weld symmetrically from the center outward; use rigid fixturing (e.g., C-clamp spacing ≤ 200 mm); apply vibration stress relief or localized flame straightening after welding if needed

Assembly Function and Structural-Strength Control

  • Locating and clamping: Use locating pins/blocks for precise positioning; apply uniform, appropriate clamping force

  • Bolt torque control: Tighten to specified torque (e.g., M6: 8–10 N·m) to avoid under- or over-tightening

  • Fit clearances: For mating features (snap-fits, sliding mechanisms), design and control clearances typically in the 0.1–0.5 mm range

  • Static load testing: Confirms stability under rated load

  • Dynamic load testing: Simulates real-world loading during use

  • Fatigue testing: ≥ 10⁶ cycles with stress amplitude in the 50–200 MPa range

  • Functional checks: Verify doors/latches/mechanisms operate smoothly with no abnormal noise

  • Leak testing: Hydrostatic or pneumatic testing to confirm no leakage

  • IP / water resistance: Per IEC 60529 (e.g., IPX3/IPX4) or customer specs. Test method (oscillating tube or spray nozzle), flow/pressure, and duration follow the standard; duration is typically related to surface area (e.g., 1 min/m² with a defined minimum time).

Assembly Function and Structural-Strength Control

Category Standard Typical application
General dimensional tolerances ISO 2768, GB/T 1804 Unspecified tolerances
Tensile testing ASTM E8, GB/T 228.1 Mechanical properties
Hardness testing GB/T 230.1, ISO 6507 Rockwell / Vickers hardness
Salt spray testing GB/T 10125, ASTM B117 Corrosion resistance
Coating adhesion ASTM D3359, GB/T 9286 Adhesion testing
Welding quality ISO 5817 (quality levels for imperfections in fusion-welded joints) Weld inspection and acceptance criteria

Metal Assembly Workflow

Metal Assembly Process (Video Walkthrough)

Drawing & documentation review → Incoming inspection & pre-processing → Fabrication completed to requirements → Fixture/tooling setup & positioning → Part assembly (fasteners, clinch hardware, press-fitting, welding, accessory installation) → In-process inspection → Functional checks & final inspection → Labeling, packaging & protective measures → Shipping & delivery documentation

Are you ready to get started on your metal fabrication project?

Not sure which material is ideal for your project? Feel free to contact us.Our engineering team will recommend suitable material grades and sheet thicknesses based on strength, weight, corrosion resistance and overall cost.

Who We Serve

SR MFG | Metal Assembly Solutions

SR MFG leverages end-to-end manufacturing and assembly capabilities to deliver turnkey, end-to-end assembly services for industries such as industrial automation, medical devices, new energy, and precision instruments. We provide integrated delivery from individual parts and sub-assemblies to complete machines, covering critical stages including process selection, process control, functional testing, and packaging/shipment.

From R&D through mass production for sheet metal, structural components, and metal assemblies, we offer practical, production-ready assembly solutions—better-matched joining methods, more stable process control, and more complete validation and delivery documentation. This helps customers achieve a stronger balance across structural strength, cosmetic consistency, assembly efficiency, and total cost—while pushing quality control upstream across the entire workflow.

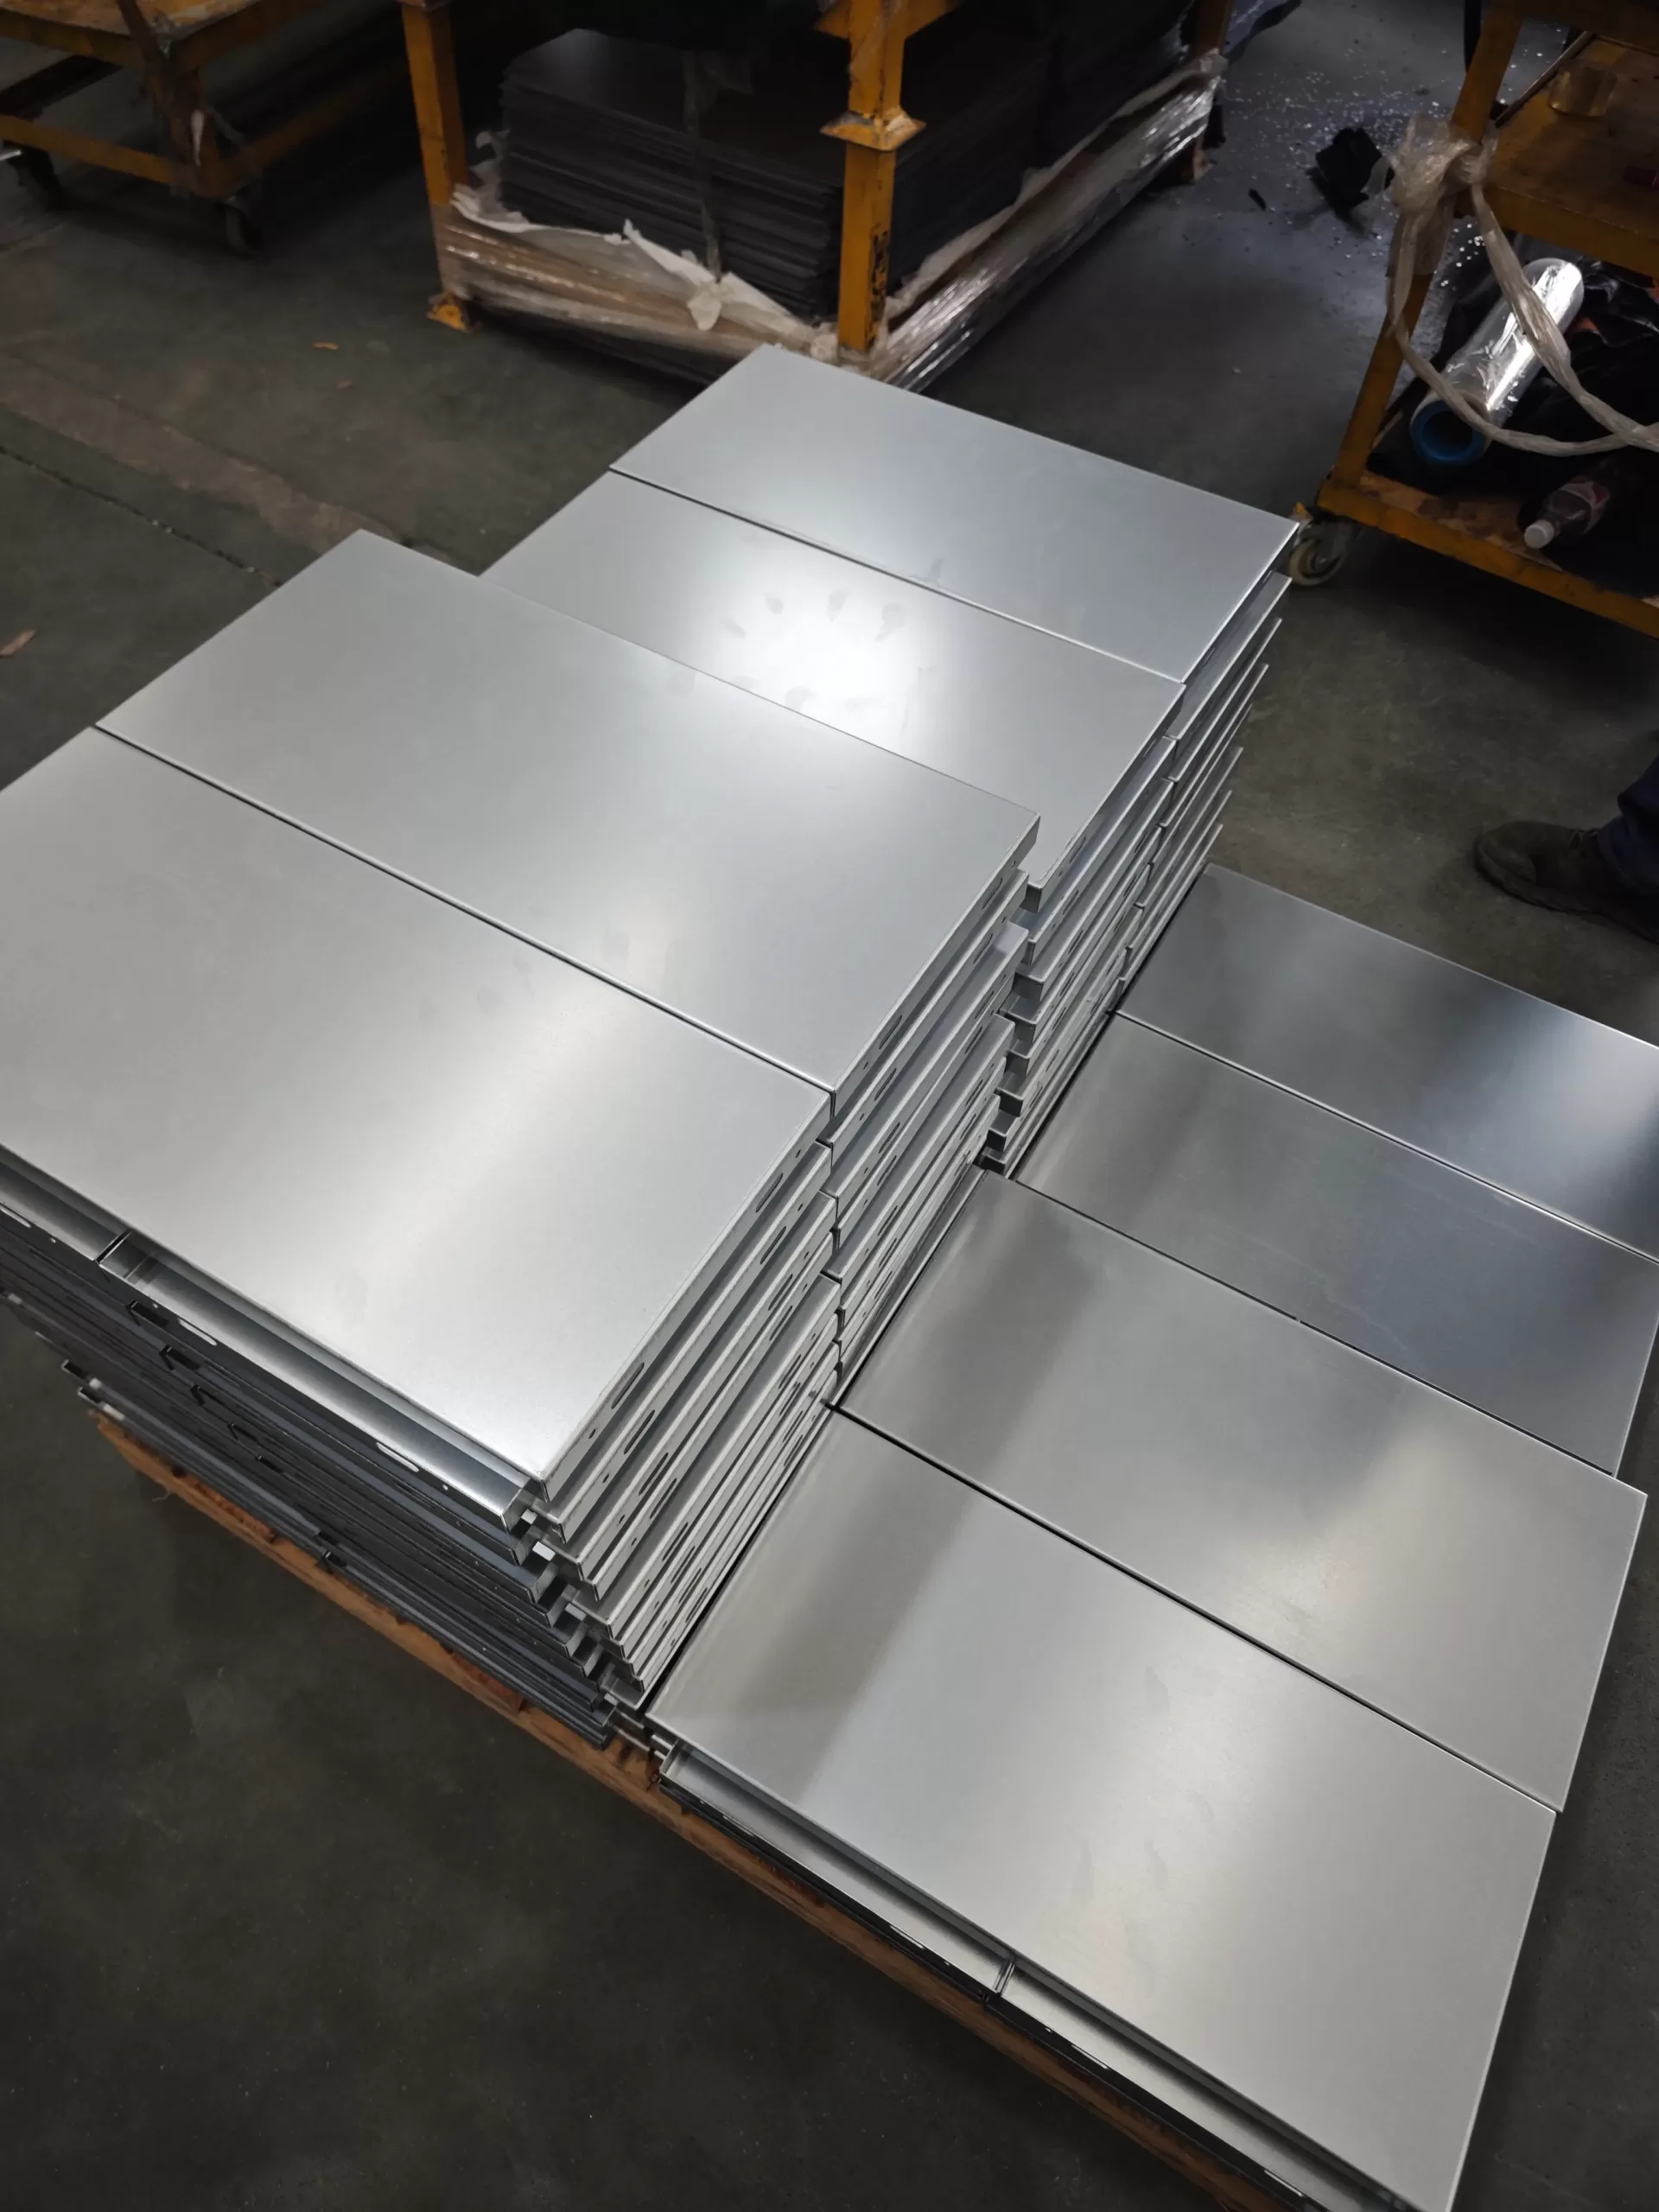
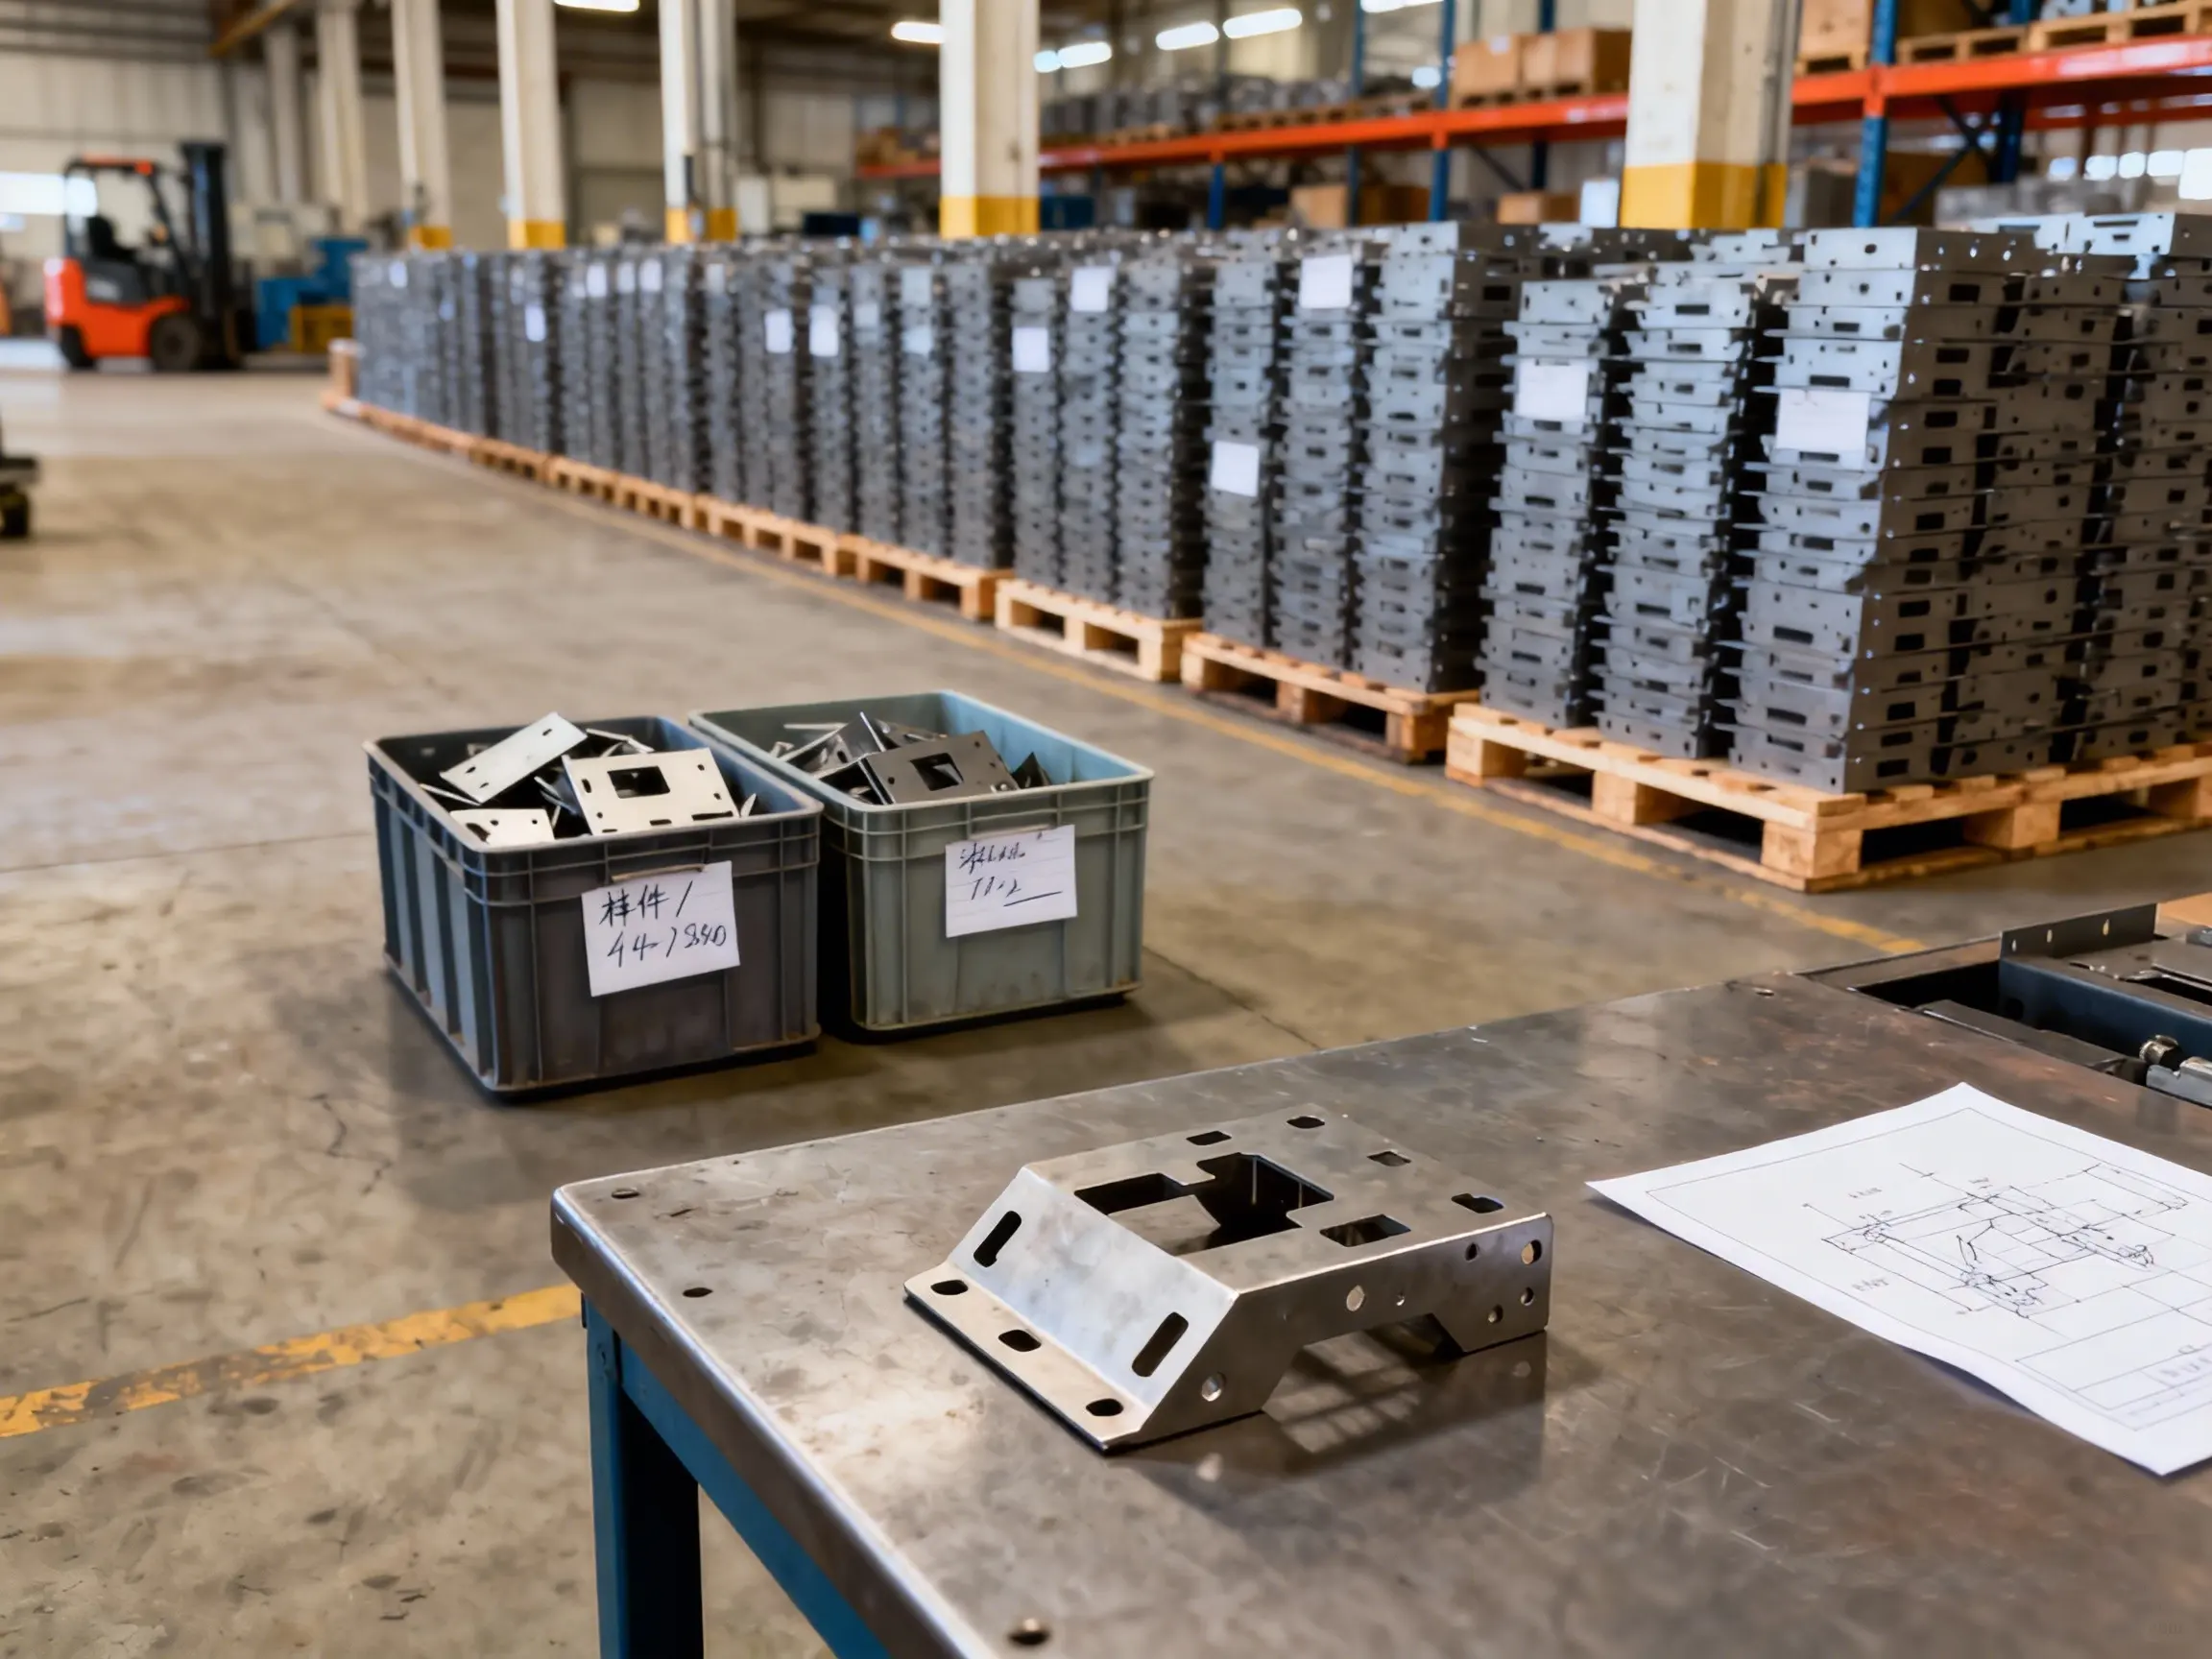
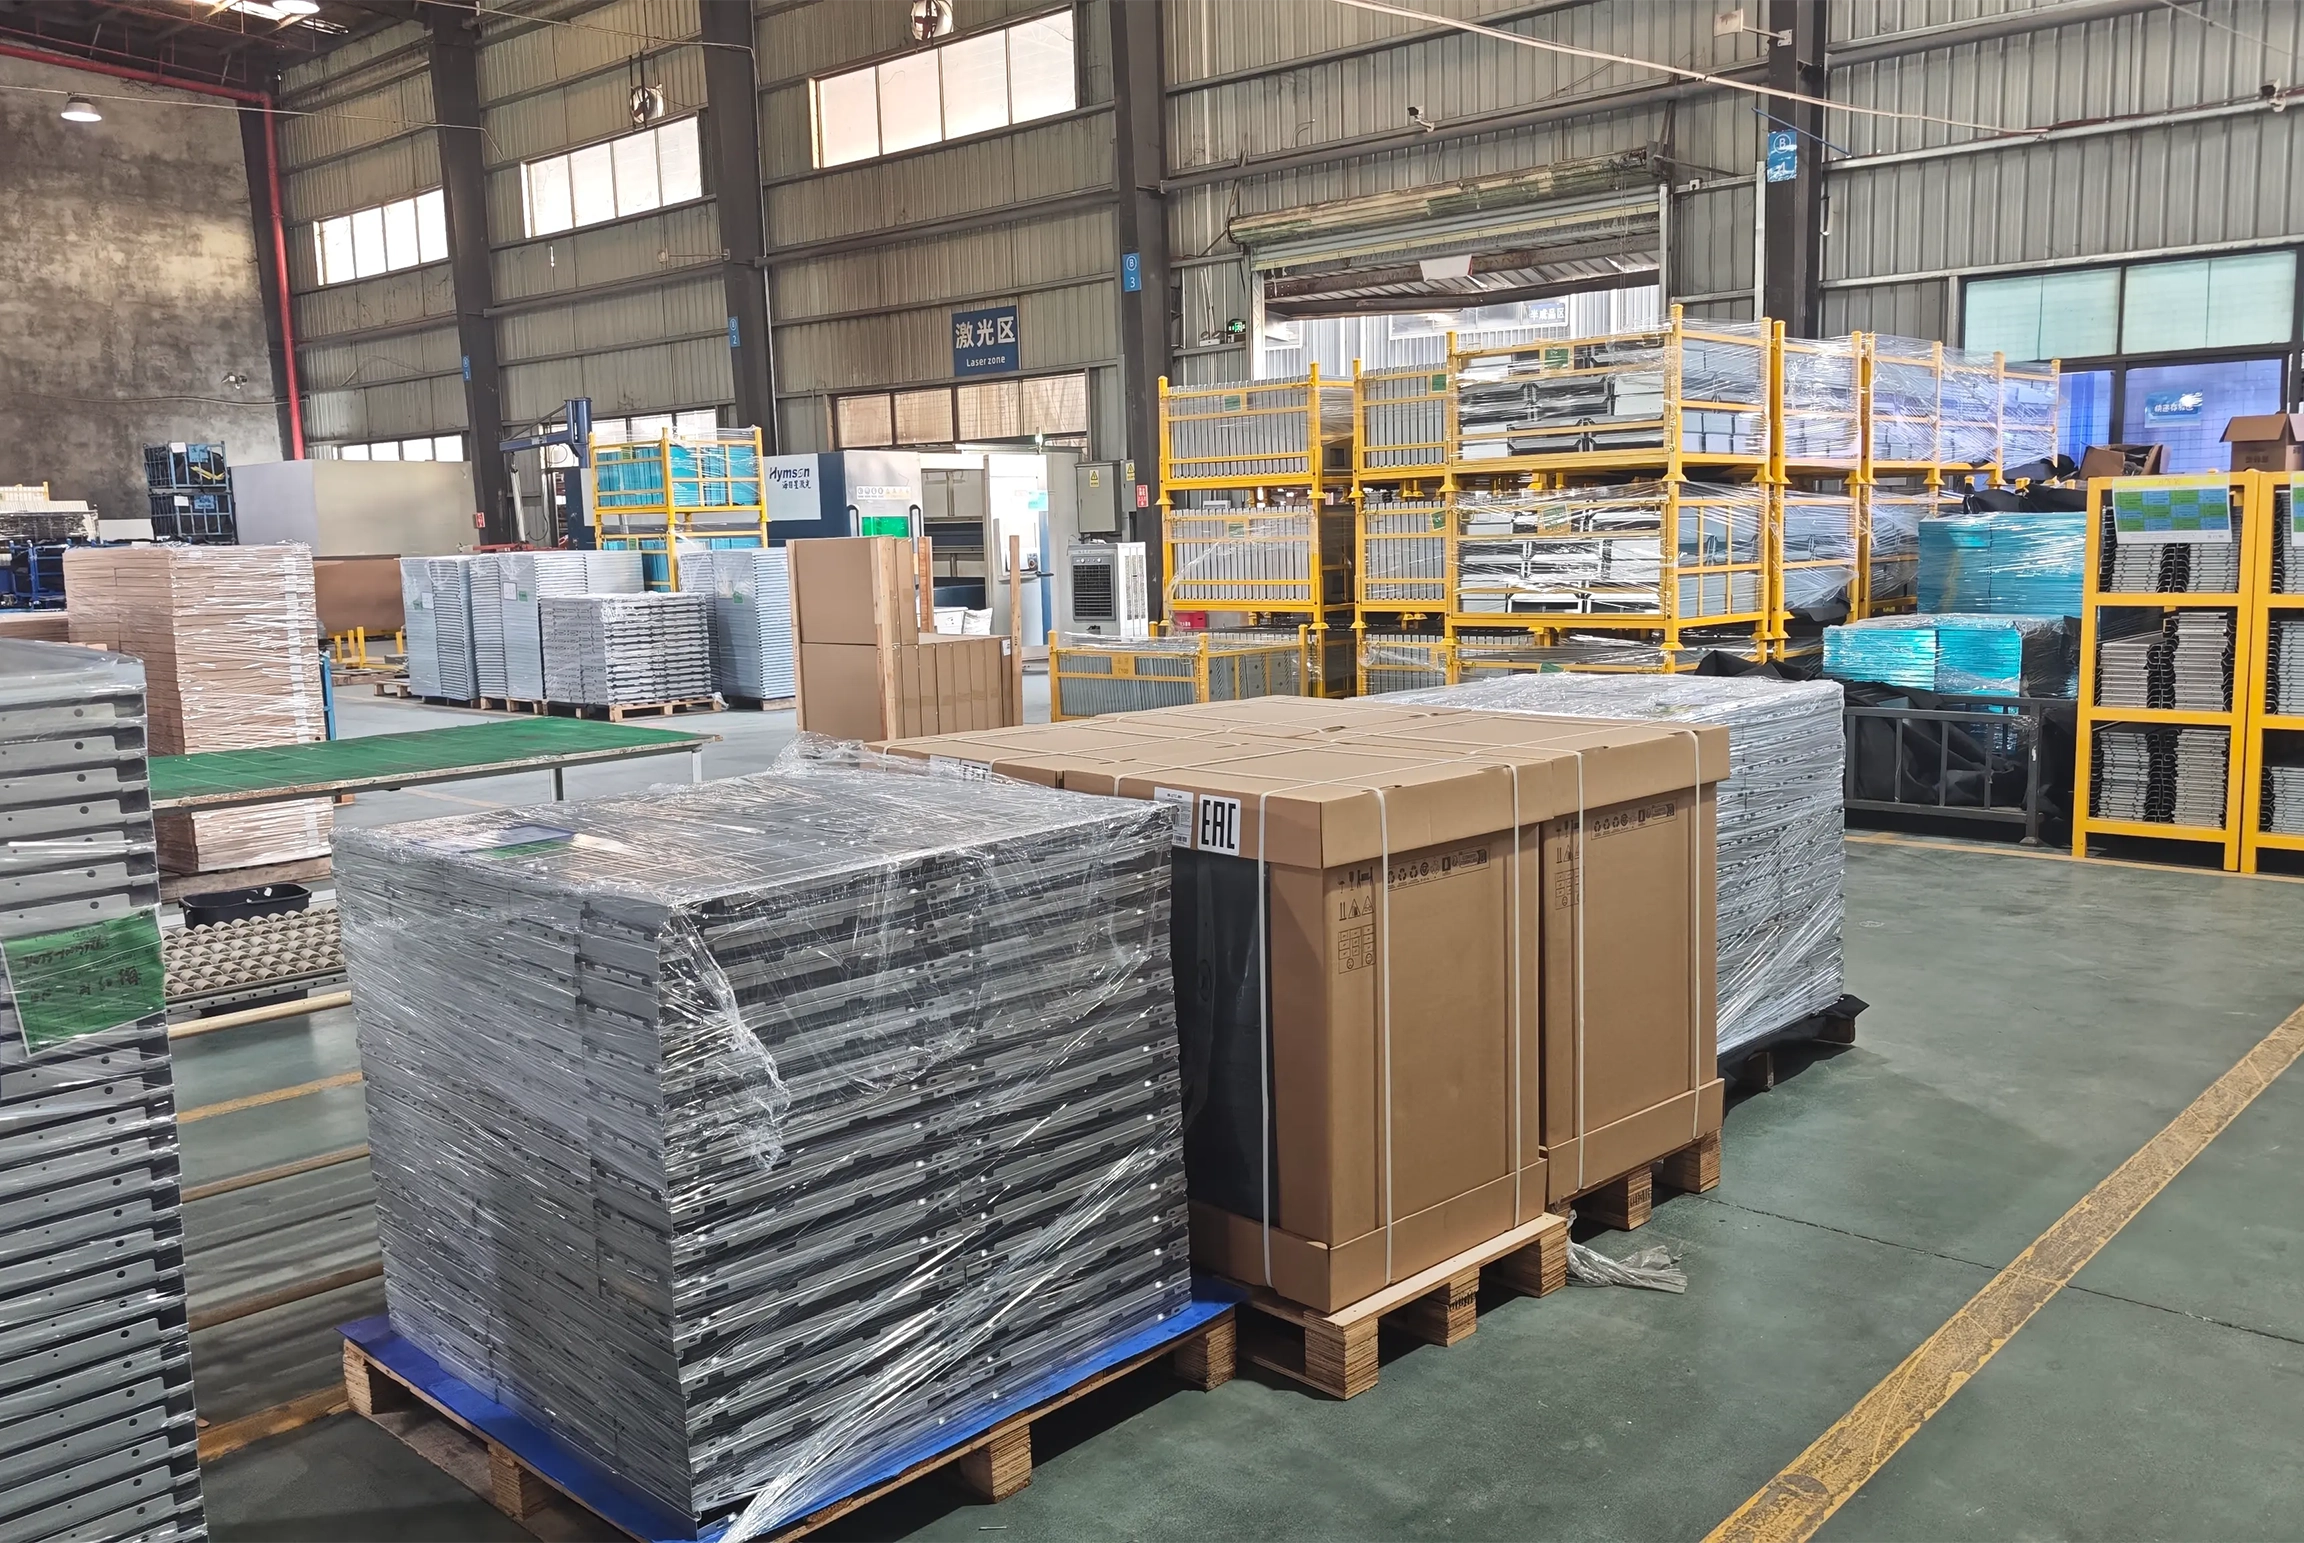
Finished Metal Assembly Showcase

Metal Assembly FAQs​​​​

To quote quickly, please provide the following essentials:

  • Assembly drawing / exploded view + full BOM (with revision/version)

  • Key requirements (torque ranges, fastening sequence, fit/clearance requirements, A-side/B-side definitions)

  • Assembly datums and critical dimensions (e.g., centerlines / datum planes)

  • Functional/performance requirements (e.g., sealing, torque, motion requirements)

Complete information allows us to quickly assess feasibility, risks, and labor hours for an accurate quote. If you’re not sure how to compile the full package, our engineering team can support you in completing the required documentation.

Before installing self-clinching fasteners, the hole diameter and sheet thickness must meet the fastener manufacturer’s specifications. Otherwise, issues such as poor seating, deformation, or hole cracking can occur (since the fastener must pass through the hole and form a secure mechanical interlock). The best approach is to adjust the design to match the recommended hole size and thickness range. If design changes aren’t possible, SR MFG can propose alternatives or provide fixture support.

We use calibrated torque tools and torque wrenches to tighten fasteners per drawing requirements, and we can provide torque records as inspection data. For critical joints, we can deliver point-by-point torque logs to ensure every fastener meets the required preload and remains fully traceable.

Cosmetic surfaces (A-surfaces) can be easily scratched during assembly. Depending on project requirements, we:

  • Apply protective film or temporary protective covers

  • Follow anti-scratch handling and workstation procedures

  • Use layered separation and foam corner protectors during packaging

We protect parts throughout the entire flow—from assembly through final boxing—to prevent damage and rework.

We apply strict IQC (Incoming Quality Control) and identification procedures for customer-supplied materials:

  • Verify against BOM/drawings (part number, quantity, condition/status)

  • Labeling and segregated storage by zone

  • Pick lists and secondary checks to prevent mix-ups and omissions

Any incoming issues are reported promptly and handled based on the agreed responsibility boundary.

Yes. We can add project-specific testing such as:

  • Functional tests (motion checks, torque checks, torque verification)

  • Sealing tests (air-leak, water-tightness, pressure tests)

We can issue test reports based on customer-specified standards and acceptance criteria to ensure real-world performance.

Before assembly, we lock the BOM/drawing revision and establish a controlled reference sample when required. If changes occur later (ECN/change order), the following are required:

  • A clear change description and impact scope

  • Mutual confirmation of the change documentation

  • Updates to our assembly process and records

This prevents mixed revisions from causing assembly errors.

Yes. We support customized packaging and label formats, including:

  • Warehouse barcodes / QR codes

  • Part number + lot/batch or serial number + quantity

  • Destination / workstation / assembly sequence

  • Customer-provided label templates

We can generate and apply labels after assembly to improve compatibility with your internal systems.

Metal Assembly Technical Resources

Stainless Steel Sheet Metal Fabrication Services for Automation and Energy Equipment

November 5, 2025|

Understanding Stainless Steel Sheet Metal Fabrication for Automation and Energy Equipment Stainless steel sheet metal fabrication integrates precision [...]

Hello world!

October 16, 2025|

Welcome to WordPress. This is your first post. Edit or delete it, then start writing!

Go to Top