Home ->
High-Volume Sheet Metal Manufacturing Services.
- 1
Standard Capacity:100,000+ parts per month (capacity can be aligned by part type, material thickness, and process mix).
- 2
Capacity Planning:We support rolling forecasts and production scheduling, helping you scale output steadily to match quarterly and annual demand cycles.
- 3
Peak Flexibility:For seasonal fluctuations, we can add shifts and rebalance workstation layouts to meet peak demand.
What Is High-Volume Sheet Metal Manufacturing?

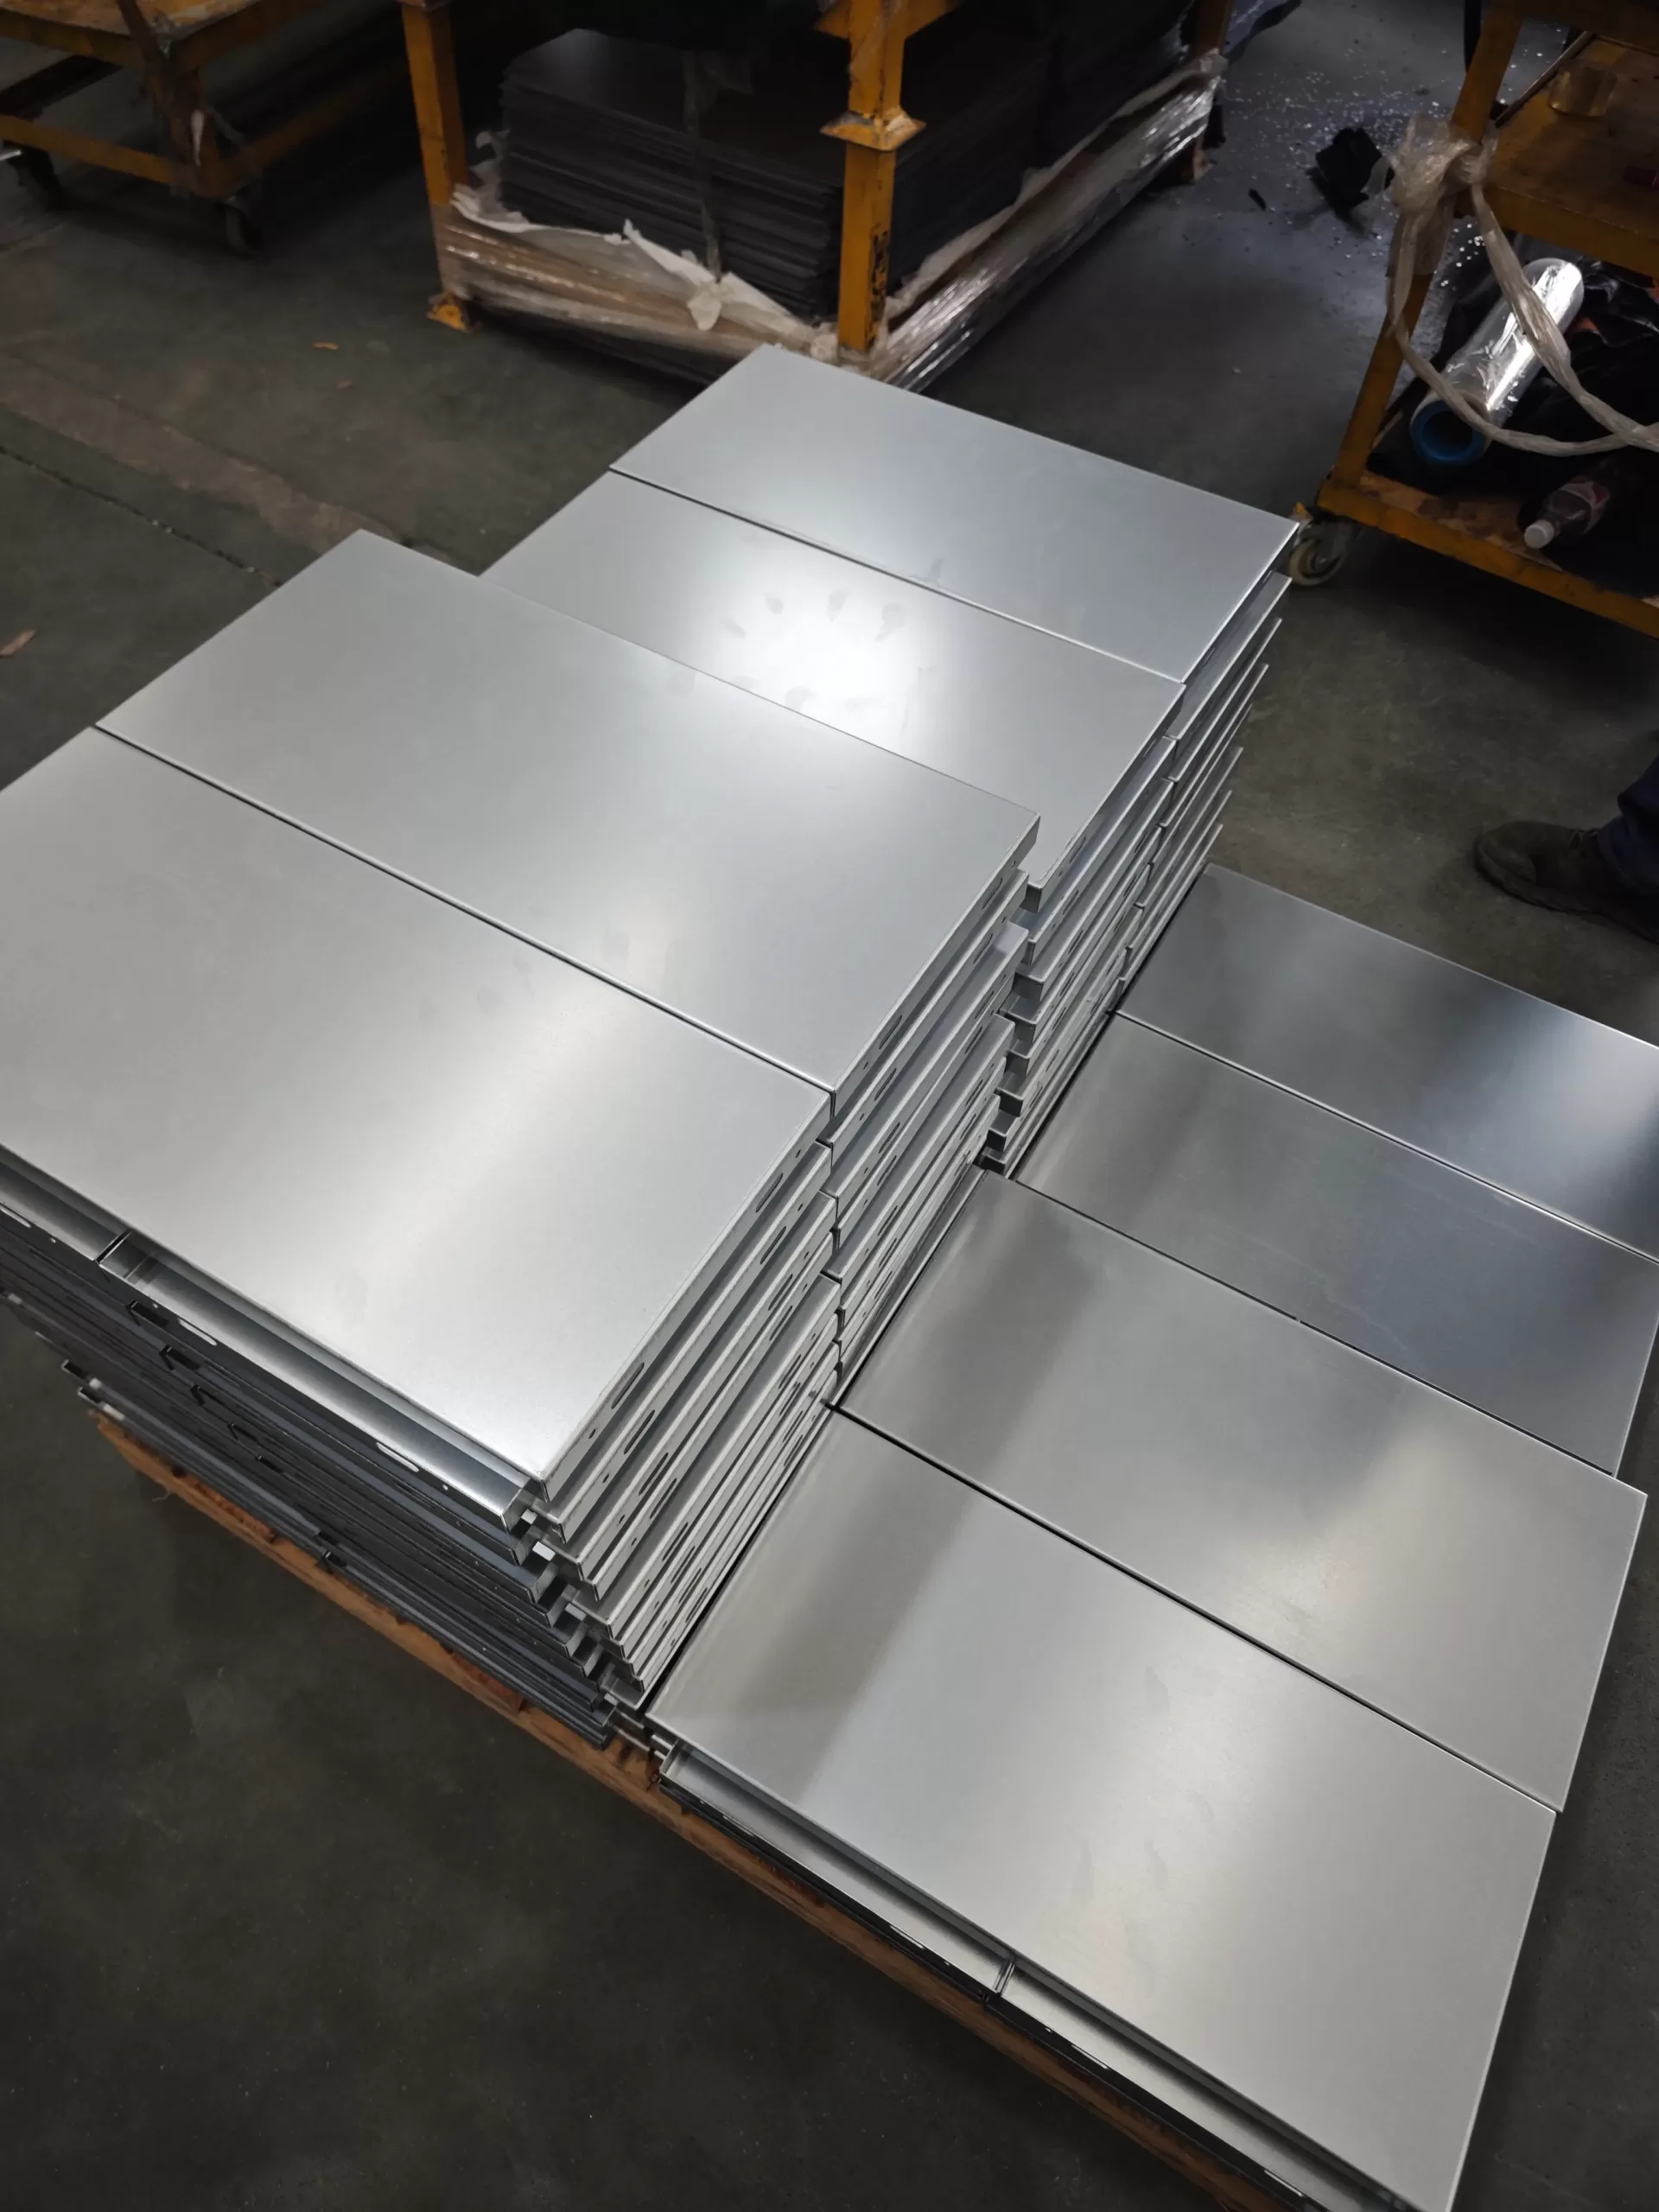
High-volume sheet metal manufacturing typically refers to continuous, standardized, large-scale production of thin-gauge metal—often using ~6 mm as a practical dividing line between sheet and plate, depending on the application.
Once the drawing revision is stable and changes are well controlled, production usually shifts toward a more line-based, automation-driven approach—using dedicated fixtures, takt-time operations, and, where it makes sense, die-based processes. The core goals in high-volume programs are higher throughput, lower unit cost (by spreading upfront investment across more parts), and more consistent results from batch to batch.
What Types of Projects Require High-Volume Sheet Metal Manufacturing?
The key isn’t just “more parts”—it’s bringing the program to a repeatable cadence and consistent output. When demand and revisions are stable, you can use automation, dedicated fixtures/tooling, and standardized operations to continuously produce large quantities of identical—or highly similar—parts and assemblies, with a production pace aligned to demand (often managed around takt time).


Common project types that are a strong fit for high-volume sheet metal
How to Tell If Your Project Fits a High-Volume Model
(The more you match, the better the fit.)
- 1
Drawings repeat heavily and you need long-term rolling supply
- 2
Revisions are stable and engineering changes are infrequent
- 3
You’re unit-cost sensitive and willing to trade tooling/fixtures for lower long-run cost (scale benefits)
- 4
You require high interchangeability and assembly-to-assembly consistency
- 5
You need a steadier cadence with fewer changeovers—well suited to line-based organization


Why These Projects Fit High-Volume Sheet Metal
Because scaling isn’t about “stacking quantity”—it’s about eliminating uncertainty upfront:
Freeze revisions → define CTQs (Critical-to-Quality characteristics) → lock key datums with fixtures/tooling/dies → standardize operations to a repeatable cadence (takt)—so as volumes ramp, you consistently achieve better throughput and lower unit cost.
How do you choose the right production process route?
We’ll recommend a manufacturing route based on your annual volume, CTQs (critical-to-quality characteristics), and revision-change frequency.
| Production route | Typical process mix | Best-fit production stage | Upfront investment (dies/fixtures) | Unit cost profile | Key design / process constraints |
|---|---|---|---|---|---|
| Flexible route | Laser / CNC turret punch + bending + general-purpose welding/assembly | Low to mid volume; frequent revisions | Low | Unit cost rises quickly as operation count increases | Hole-to-bend rules, tolerance stack-up, weld distortion; cosmetic consistency often needs fixture support |
| Semi-tooled route | CNC turret punch (incl. forming) / laser + dedicated fixtures + cell-based assembly | Mid to higher volume; stable structure | Medium | More stable cadence; costs can be driven down over time | CTQs need to be frozen earlier; fixture strategy sets the ceiling for repeatability |
| Stamping route | Blanking/forming dies + (progressive/transfer dies) + secondary bending/tapping/self-clinching | High volume; long-term stable design | High | Lowest unit cost; fastest throughput | Changes are expensive and slow; DFM must be solid up front (radii, flanges, hole locations, springback, etc.) |
| Roll forming route | Roll forming + punching / cutoff | Long, straight, constant-profile sections in high volume (rails, channels, profile housings, etc.) | High | Excellent unit economics; very high capacity | Once the cross-section is set, changes are difficult; first-article validation needs to be thorough |
| Deep drawing route | Deep drawing / forming + trimming / piercing | Bowl-/cup-/housing-type parts | High | Efficient for deep cavities; strong throughput | Material formability matters; wrinkling/cracking risk; allow time for die tryout and tuning |
Total cost model:
Total cost = Upfront investment (dies/fixtures) + Unit cost × Annual volume
Tooling and Dies
Die Types and Where They Fit Best
| Die type | Typical process | Best for parts / features | Key advantages | What must be locked down upfront |
|---|---|---|---|---|
| Single-operation die (blanking / piercing / bending) | One press cycle completes one step | Simpler parts where operations can be separated | Lower initial investment; easy to “tool up” gradually | Hole patterns, datums, and material thickness must be stable |
| Forming die | Flanging / drawing-forming / restriking | Features that require repeatable shape and appearance | More stable cosmetics and dimensions | Corner radii, springback, and flat-pattern logic need to be frozen |
| Progressive die | Continuous feed with multiple stations | High-volume small to mid-size parts | Extremely high throughput; strongest potential for lowest unit cost | Changes are expensive—design and DFM must be right the first time |
| Transfer die | Part-to-part transfer (automation/transfer) | Larger parts or multi-step forming | Handles complex forming with steady cadence | Requires a robust feeding and locating strategy |
| Deep drawing die (when applicable) | Deep drawing | Cup-/shell-type parts | Efficient for deep-cavity forming | Material formability and the wrinkle/crack process window must be validated |
Tolerances & Critical-to-Quality Features (CTQs)

In high-volume sheet metal production, we build quality control around clear priorities. With CTQs—critical dimensions, cosmetic surfaces, and functional interfaces—as the backbone, we align tolerance bands, datums, and measurement methods during DFM and tooling/process planning to prevent tolerance stack-up from turning into assembly variation as volumes ramp.
Our Typical Tolerance Capability
We work to widely used GD&T frameworks (ISO / ASME) and consistently perform well within the typical ranges below (actual results depend on material, thickness, and process).
| Feature type | Typical reference tolerance | Notes |
|---|---|---|
| Flat cutting features | ±0.2 mm | Common capability reference for laser/cutting features. |
| Bend angle | ±1.0° | A widely used production benchmark for bend angles. |
| Bend to edge / flange length | ±0.254 mm (0.010″) | A practical “anchor” for communicating flange-length control. |
| Edge to bend | ±0.381 mm (0.015″) | Common reference for bend-line placement from an edge. |
| Across-bend dimension | ±0.762 mm (0.030″) | Typical across-bend reference; longer stacks need a realistic window. |
| Overall edge-to-edge on formed part | ±0.762 mm (0.030″) | One common baseline for overall formed dimensions. |
Note: Finishing affects fit and dimensions
Powder coating, plating, anodizing, and other secondary processes can change part dimensions and fit. For features like clearance holes, insertion gaps, threads, and grounding/shielding surfaces, it’s best to specify post-finish requirements, masking areas, and allowance strategy directly in the drawing notes.

CTQ Checklist & Drawing Callout Tips
| CTQ type | Typical features | Recommended drawing callouts | What we review |
|---|---|---|---|
| Assembly locating hole patterns | Hole location, pitch, hole-to-datum surfaces | Use consistent datums; call out hole location with position tolerance / datum references (GD&T approach) | Relationship between hole patterns and bend datums; hole-to-bend sensitivity |
| Hole-to-bend | Hole edge to bend line / flange | Mark as CTQ and define the measurement method (which datum, measured after forming) | Springback and bend-radius variation effects; adjust hole strategy if needed |
| Across-bend dimension chain | Overall width/height across one or multiple bends | Set only functional dimensions as CTQ; use general tolerances for non-functional dims | Stack-up risk across multiple bends; whether fixtures/datum strategy needs optimization |
| Flatness / warpage | Mounting, sealing, mating surfaces | Clearly identify the functional surface (CTQ); specify flatness if needed | Impact of thickness, perforation ratio, welding, and stress relief on distortion |
| Perpendicularity / parallelism | Cabinet frames, critical bracket faces | Define datums and orientation relationships for assembly faces | Bend sequence and whether fixture locating can hold relationships consistently |
| Cosmetic surfaces | A-surface scratches, grain direction, color sensitivity | Define A/B surfaces and acceptable defect examples; specify grain/texture direction | Handling/stacking risks before/after finishing; hanging points and masking strategy |
| Inserts / self-clinching hardware | PEM studs/nuts, rivet nuts | Specify hardware model, datum-based location, and installation direction | Installation height consistency, interference risk, and tool/assembly access |


